Why prep matters
Paint is only as good as the surface underneath it. A wall that looks clean to the eye can still have grease, dust, or old loose paint that keeps the new coat from bonding. When the bond fails, you get peeling, bubbling, or blotchy spots that show up weeks after the crew has left. That’s why every serious painting job starts with a full inspection of the walls, not just a quick wipe-down.
The goal of prep is to give the paint a clean, stable, and slightly textured surface to grip. On drywall, that means filling holes and sanding smooth. On wood trim, it means removing old finish where it’s failing. On previously painted walls, it means checking for adhesion by pressing a piece of tape on and pulling it off. If the tape brings paint with it, that wall needs more than a fresh coat, it needs proper scraping and priming.
Cleaning and repairing the surface
Start by dusting the walls with a dry microfiber cloth or a vacuum brush attachment. Then wash with a mild detergent and water, working from the bottom up so streaks don’t run down clean areas. Rinse with a clean damp sponge and let the wall dry completely. Pay extra attention to areas around light switches, door frames, and baseboards, where hands and furniture leave oils that repel paint.
Once the wall is dry, inspect for damage. Small nail holes and dings can be filled with a lightweight spackling compound applied with a putty knife. Larger holes or cracks may need a setting-type joint compound that dries harder and won’t shrink. After the filler dries, sand it flush with the surrounding surface using fine-grit paper. For deep gouges or water stains, you may need to cut out the damaged drywall and patch in a new piece, this is where a professional crew earns its keep.
Sanding and dust removal
Sanding is what turns a patched wall into a seamless surface. Use a pole sander for large areas and a hand sanding block for edges and corners. Choose a sanding grit that matches the repair, coarse for rough patches, fine for final smoothing. The goal is to feather the edges of the patched spots so they blend into the surrounding wall. Over-sanding can gouge the drywall paper, so work gently and check your progress often.
After sanding, every bit of dust has to go. Wipe the walls with a damp cloth or tack cloth, then vacuum the floor and any nearby surfaces. Dust that settles back onto the wall will mix with the paint and create a gritty finish. If you’re painting a ceiling, sand and clean that first, then move to the walls, so falling dust doesn’t ruin your fresh work. A clean, dry, dust-free surface is the single best predictor of a smooth, even paint job.
Priming and spot priming
Primer isn’t always necessary, but it’s often the smartest step. On bare drywall, a coat of primer seals the porous surface and gives the paint an even base to grip. On previously painted walls, spot-prime any repairs with a stain-blocking primer to prevent the spackle from showing through. For walls with water stains, smoke damage, or crayon marks, an oil-based or shellac-based primer blocks the stain from bleeding through the new paint.
Primer also helps you see what the final color will look like. It evens out the porosity of the wall, so flat and satin finishes don’t dry patchy. If you’re making a dramatic color change, say from dark red to light gray, a tinted primer can cut down the number of top coats needed. Our crew always checks the wall after priming and fixes any remaining imperfections before the first color coat goes on. That’s the difference between a quick repaint and a lasting finish.
Masking and protecting the room
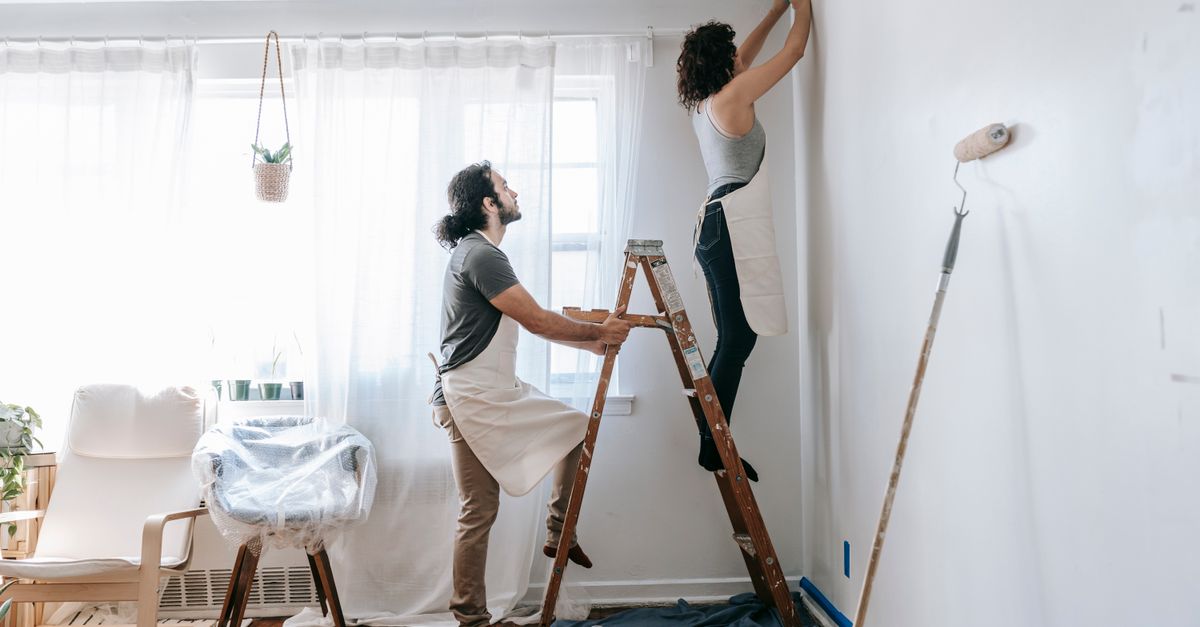
Before any paint touches the wall, the room has to be prepped for the mess. Move furniture to the center of the room and cover it with plastic sheeting or drop cloths. Cover the floor with canvas drop cloths, they absorb spills and don’t slide like plastic. Use painter’s tape to mask off baseboards, door frames, window trim, and outlet covers. Tape along the edges with a slight gap so the paint can seal against the trim, and press the tape down firmly to prevent bleed.
If you’re painting a ceiling, tape off the top of the walls and cover any light fixtures with plastic bags. For exterior work, the same principles apply: cover plants, walkways, and outdoor furniture, and tape off windows and doors. Good masking takes time, but it’s what keeps the paint where it belongs. When the job is done, the crew pulls the tape at a 45-degree angle while the paint is still slightly tacky, leaving crisp lines and no pulled-up paint.